Record your screen and camera for a clearer tutorial
To record a tutorial with your screen and camera, choose Screen + camera in Fiklo and work through the steps while you explain them. A small camera window keeps your face in view. You can pause between sections and choose the useful takes before starting the edit.
It is a practical setup for a short lesson, a client walkthrough or a demonstration of one setting. Your explanation and the screen activity happen together, so you do not have to repeat the same sequence later for a separate screen recording.
Prepare one task to demonstrate
Pick an outcome the viewer can follow: change a setting, complete a task or fix a specific problem. Open the relevant app view before recording. Start where the instruction starts, with the controls you need already visible.
Select your camera and microphone in Fiklo, then switch to Screen + camera. Check the preview and audio level. Fiklo 0.9.31 uses formats available from a camera recognised by your Mac. A USB-C connection alone does not guarantee that a device can supply a video stream.
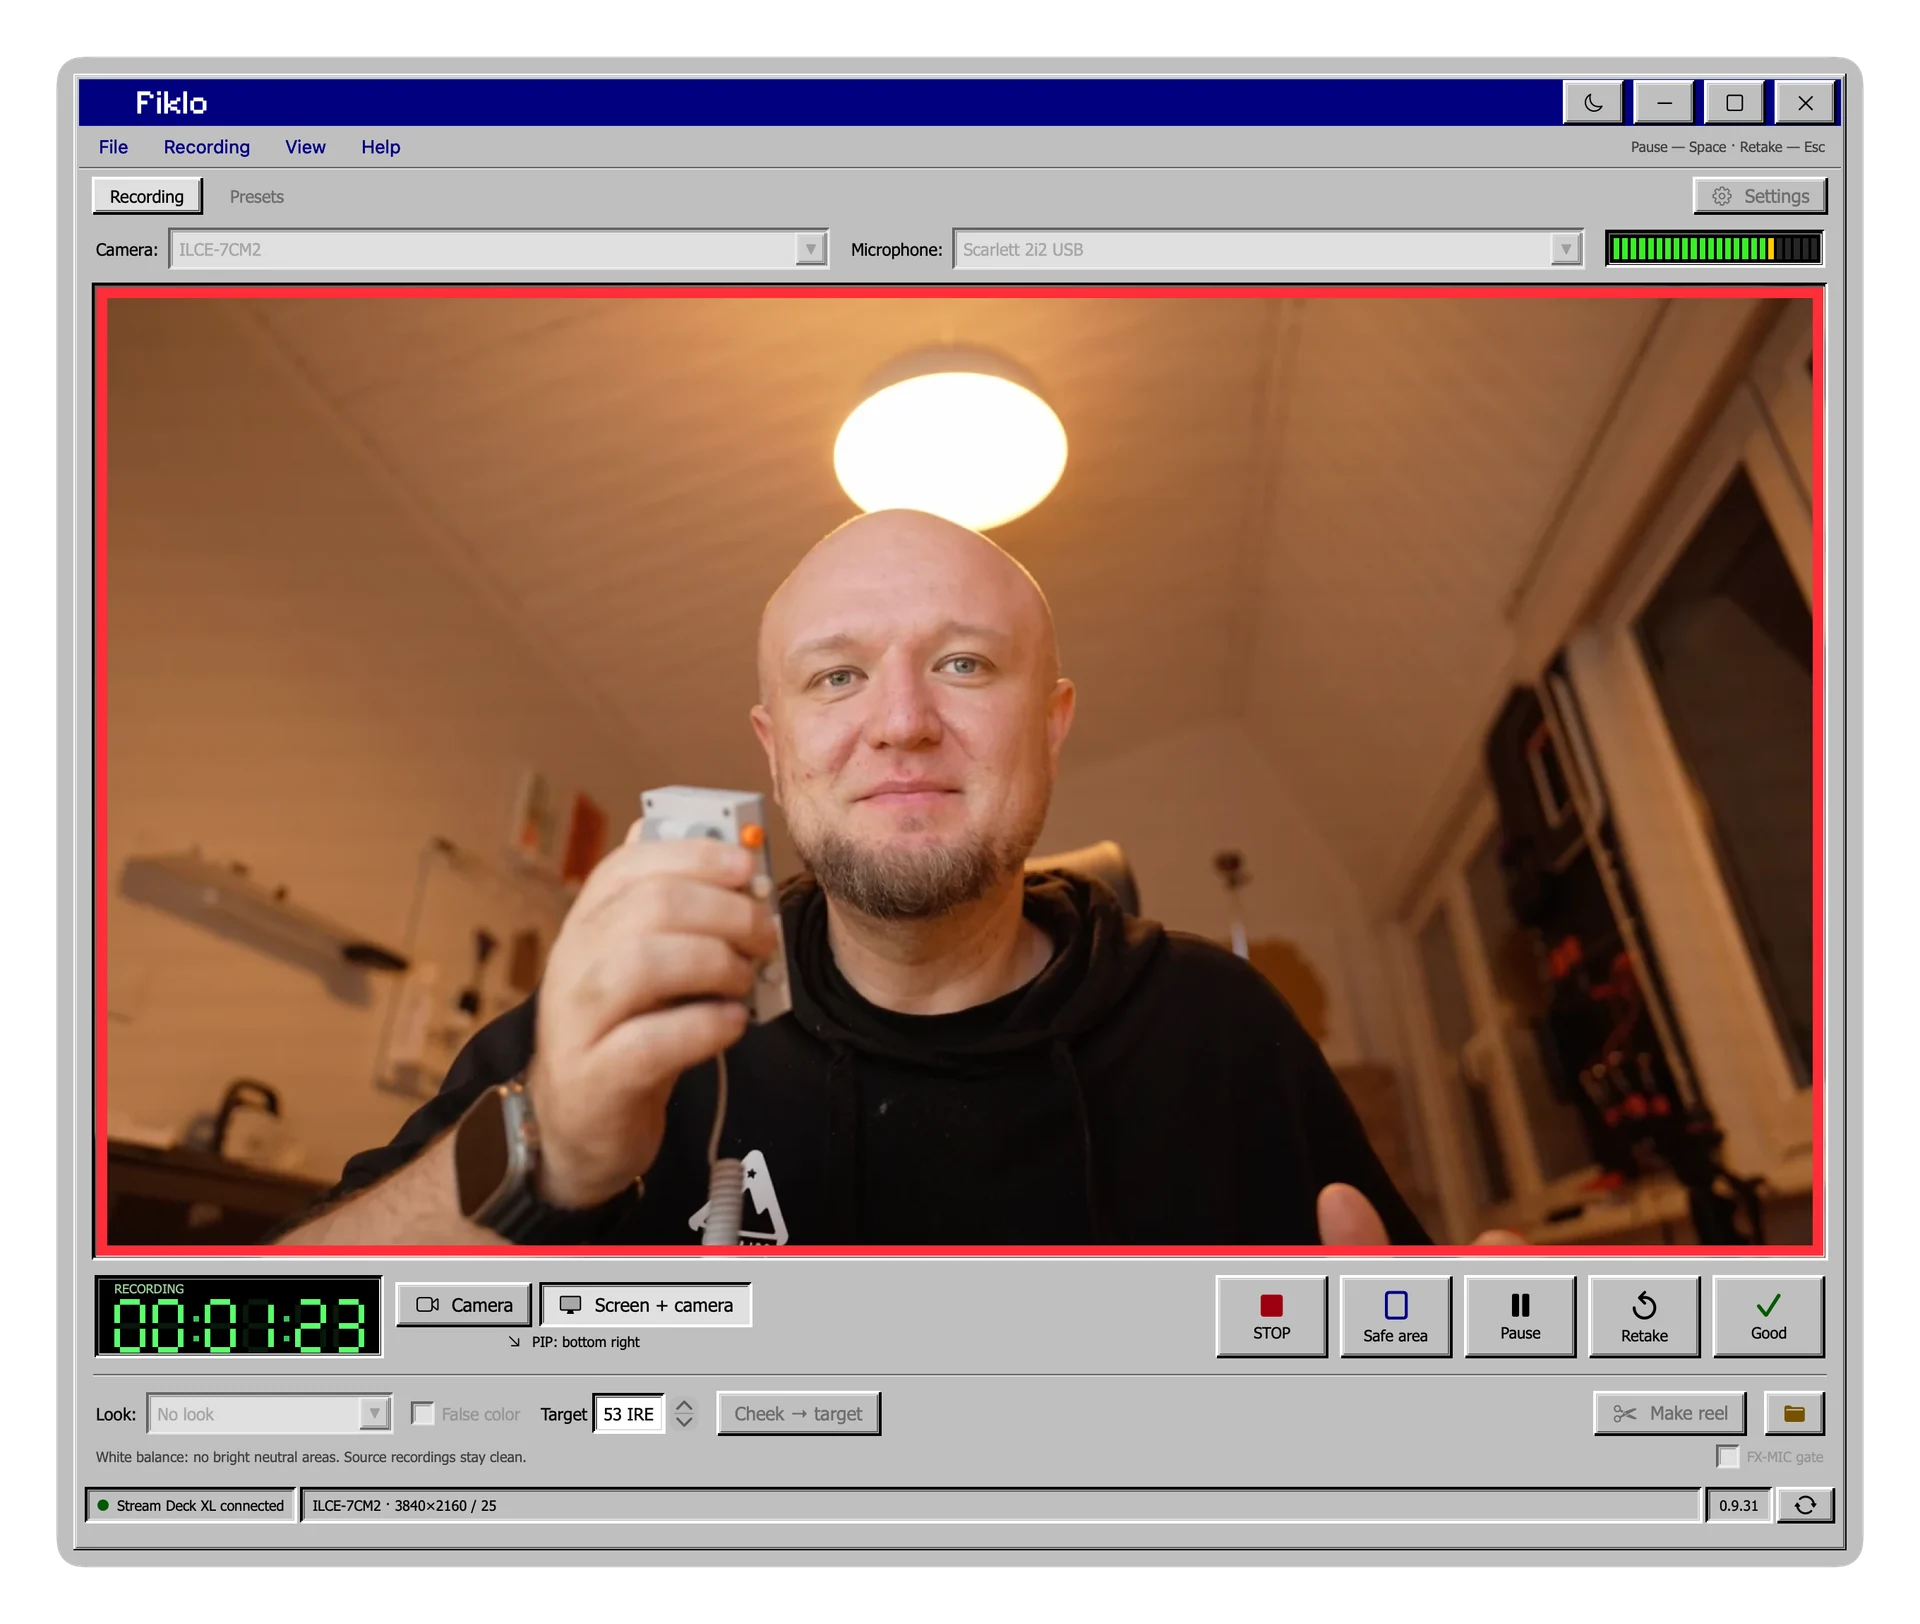
Make a short test recording and play it back. Can you hear the explanation and read the labels on the screen? If the interface is too small, increase its scale in the app you are demonstrating before recording the full tutorial.
Pause when the next step is not ready
Waiting for a page to load or preparing another example does not always need to be part of the video. Pause between useful sections. After explaining a step, decide whether that take works before moving on.
The small camera window gives you a preview while you work on screen. When you pause, you can keep the take or choose a retake. A mistake in one section need not become a reason to restart the entire walkthrough.
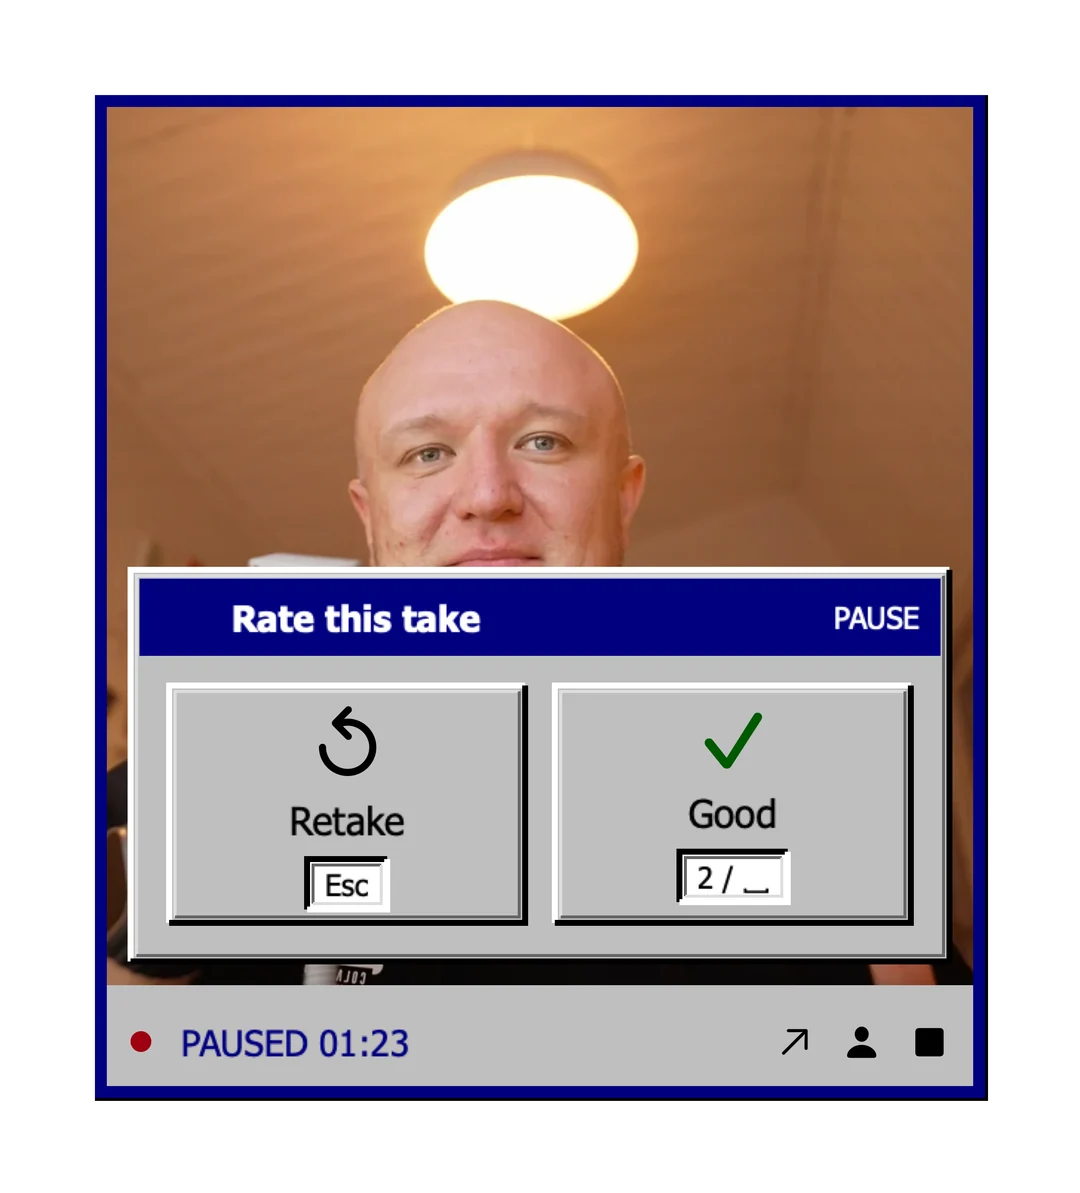
For more on that decision, read how to choose takes as you record. You judge the explanation. Fiklo later assembles the footage you chose.
Review the tutorial in each export format
After recording, start the edit and choose vertical 9:16, landscape 16:9 or both. Review the exports separately. Check that the viewer can still follow the screen activity and that the camera image sits comfortably in the composition.
Landscape can be easier to follow when a tutorial depends on small controls across a wide interface. Exporting a vertical version does not automatically make tiny labels readable. Extra close-ups, graphics and more involved edits can still be handled in a separate editor.
Fiklo is in closed beta for Apple silicon Macs running macOS 14 or later. Join the beta waitlist if you want to try this approach for your own tutorials.